User Line Validation
Perform the following steps to validate a line as a user:
Step 1
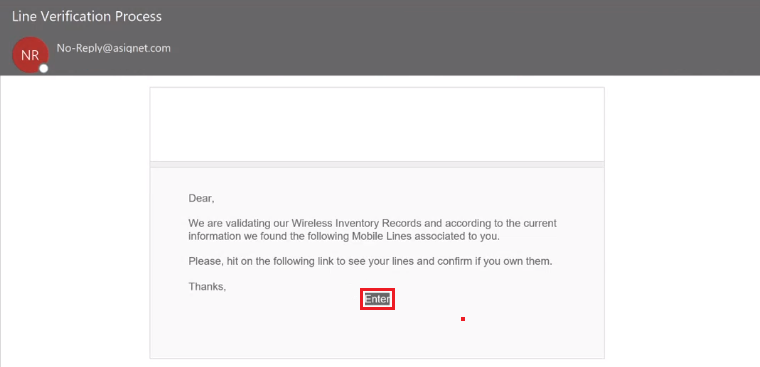
After the line validation process is initiated, you will receive a workflow email to review and complete the line validation.
Upon receiving the email, click Enter to access the Asignet portal to view and confirm assigned line.
Step 2
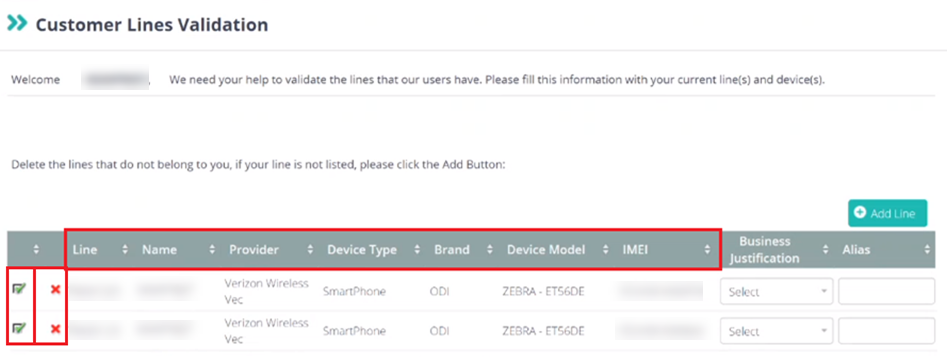
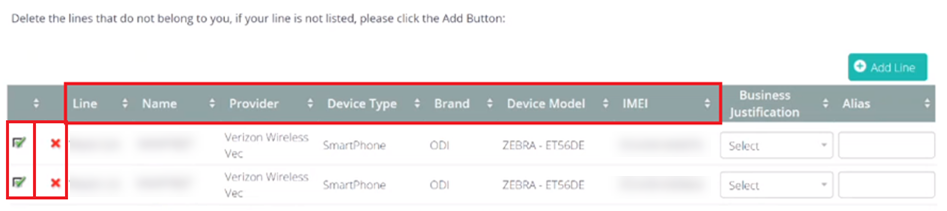
On the Asignet portal, the Customer Lines Validation page will open to show the line assigned to you in the system, information on the line, and options to confirm assigned line or delete the line that should not be assigned to you.
The green check mark is to confirm. The red X is to delete.
Step 3
The three options for line validation include:
Confirm Line Assignment
Unassign Line
Add Line
Confirm Line Assignment
To confirm that the line is assigned to you, select the applicable option from Business Justification drop-down list and enter an alias in the Alias field.
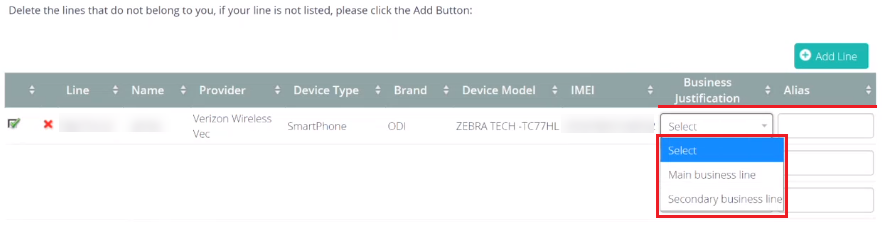
After reviewing the details and if ready, click Submit to apply changes.

Unassign Line
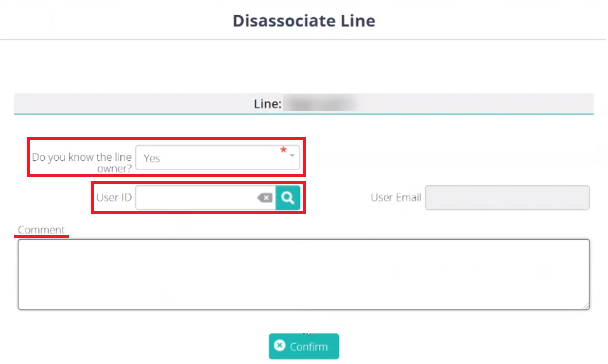
To unassign a line, click the green mark to open a new window.
Select the applicable option from Do you know the line owner? drop-down list.
If Yes is selected, the User ID and Comment fields appear. Enter the criteria in the User ID field. Find the user ID that should be the line owner then select the user ID. Optionally, enter a comment in the Comment field.
If No is selected, there are no additional fields that appear.
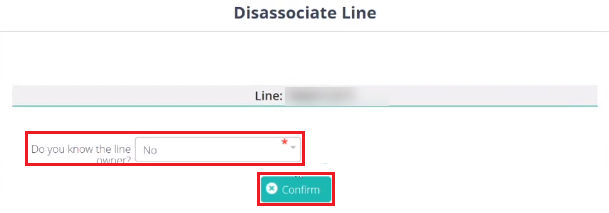
Click Confirm to apply changes and return to the Customer Lines Validation page to view the line under Lines that do not belong to you section.
After reviewing the details and if ready, click Submit to apply changes.

Add Line
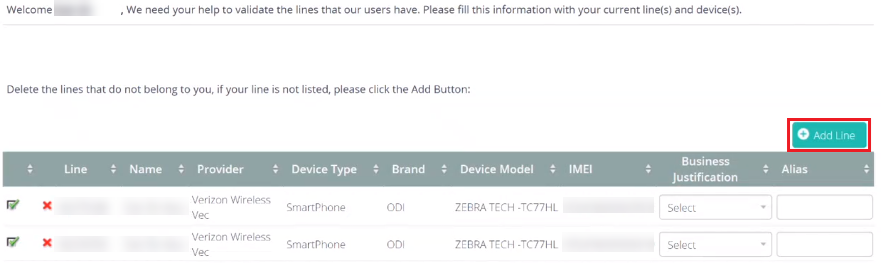
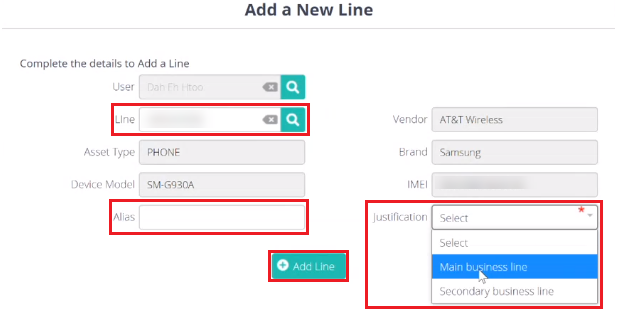
To add a line that should be assigned to you but not listed, click Add Line to open a new window.
Enter the criteria in the Line field. Find the line number that should be assigned to you then select the line number in inventory to display the line information.
Once the line is selected and line information is displayed, select the applicable option from Justification drop-down list and enter an alias in the Alias field.
Click Add Line.
Note: It is important to mention that the line to be added should be in inventory.
After reviewing the details and if ready, click Submit to apply changes.
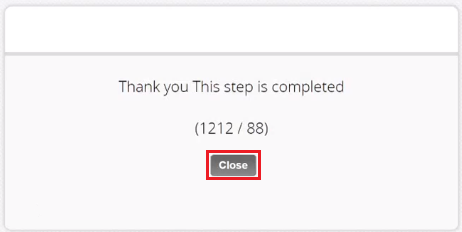
Step 4
After submitting, you will receive a confirmation that the process is completed.
Click Close to close the window.