Creating your GL Levels
Our Implementation Team will have already created your GL Levels; however, we understand that sometimes our clients need to make adjustments to their GL code structure & organization. We’d recommend talking with your Client Success Manager before you make any major changes in this module.
How to create a GL Level
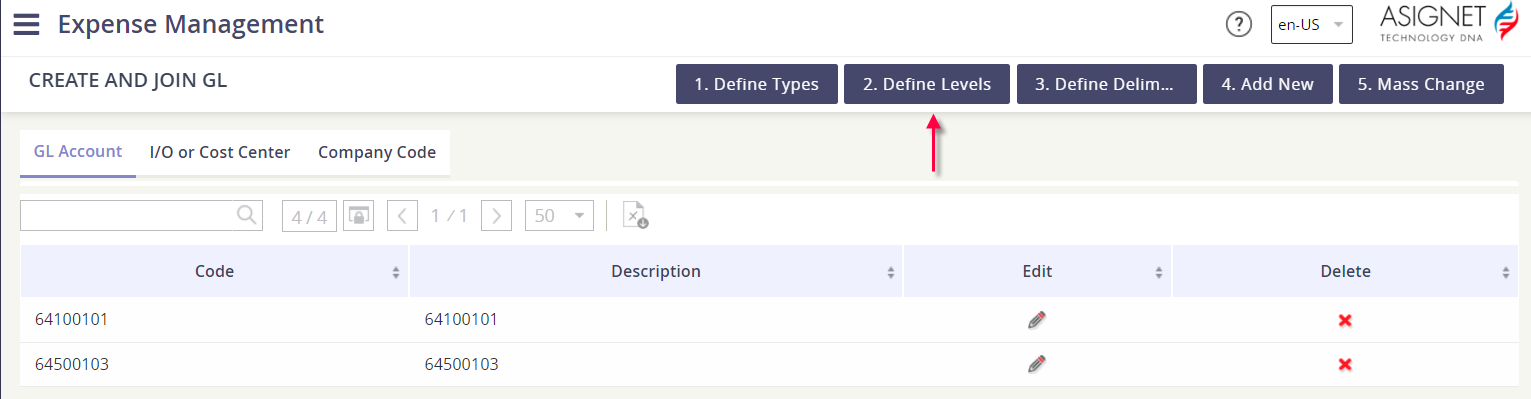
When in the GL Definition tool, select the action button 2. Define Levels to see all the levels that have been setup for each GL Type.
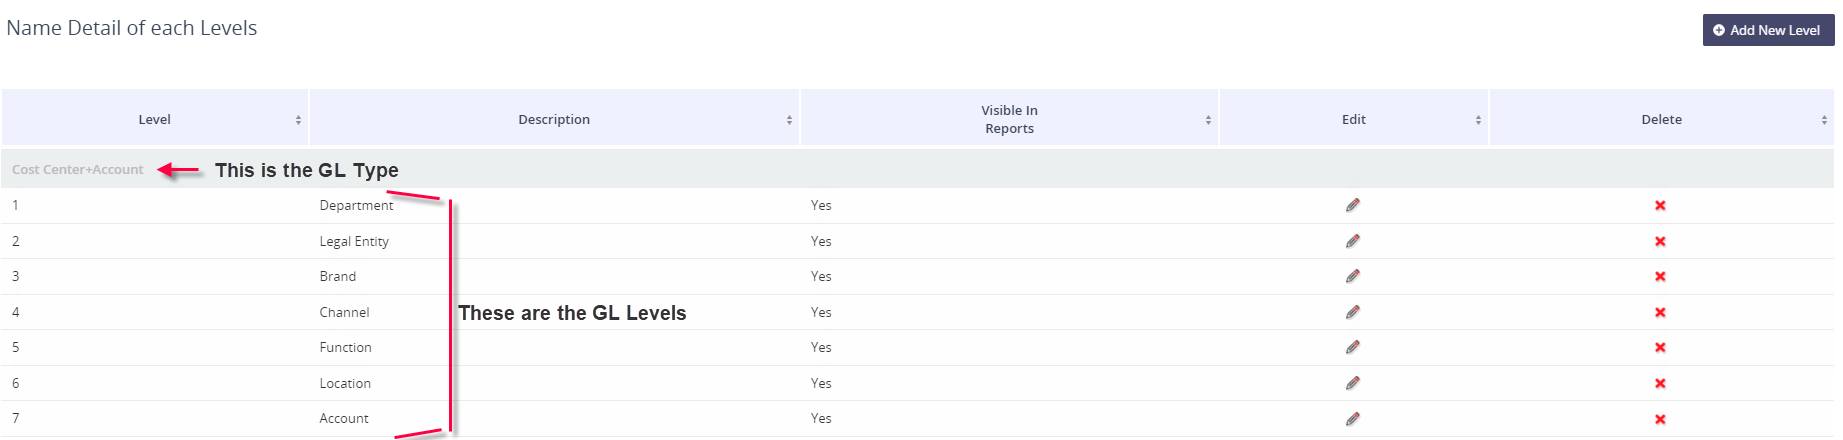
Review the existing levels that have been setup per GL Type. Make sure you aren’t creating a duplicate GL Level , and remember you can have up to ten (10) GL Levels per GL Type in the platform.
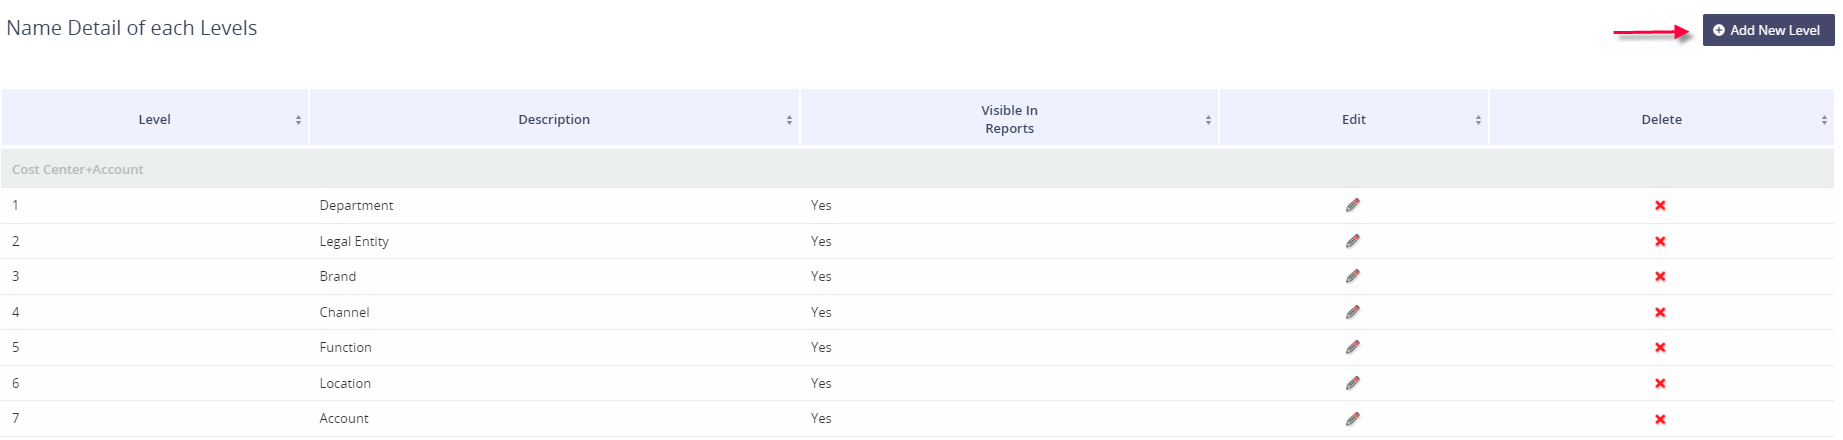
Click the action button Add New Level.
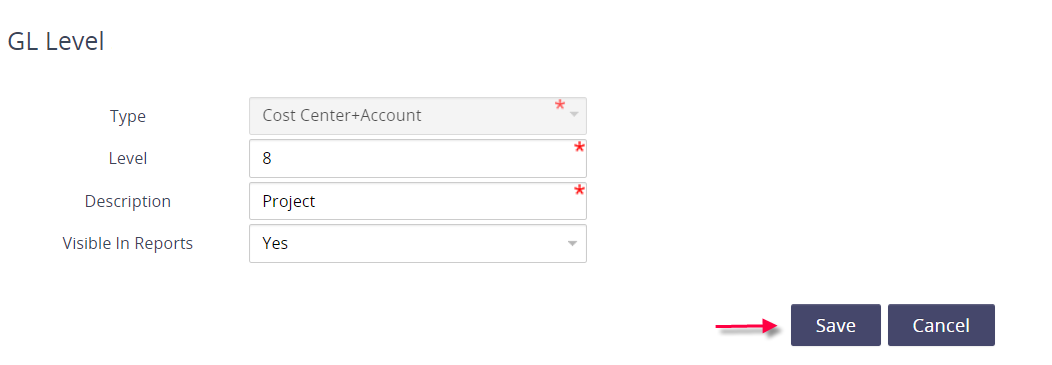
Fill out the GL Level form and click Save when complete.
Type: if you have one GL Type, it will be auto-selected. Otherwise, you will need to select the appropriate value.
Level: this will be the next level available
Description: provide the GL Level label
Visible in Reports? Yes or No. Do you want to report on the GL Codes used within this Level?
How to edit a GL Level
When in the GL Definition tool, select the action button 2. Define Levels to see all the levels that have been setup for each GL Type.
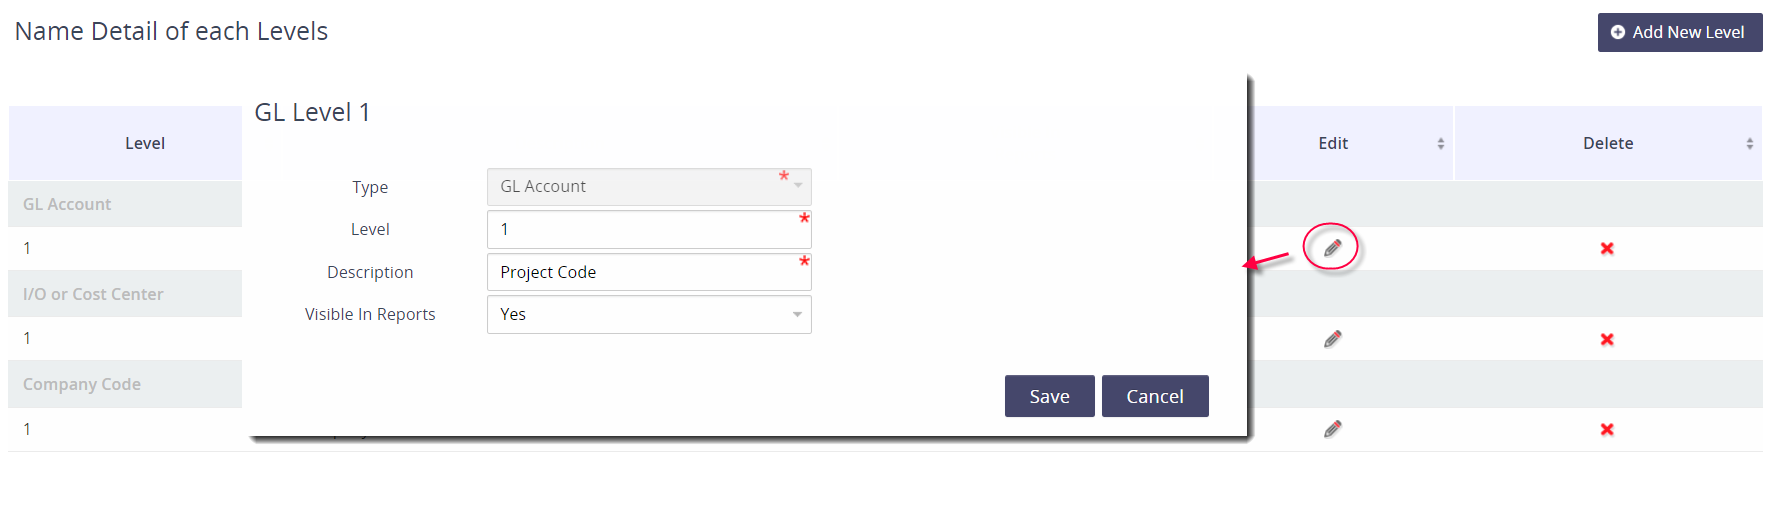
Locate the GL Level that you need to update and click the pencil icon under the Edit column.
Update the form and click Save to keep your changes.
How to delete a GL Level
Deleting a GL Level will delete all associated GL Codes. You cannot undo this action.
When in the GL Definition tool, select the action button 2. Define Levels to see all the levels that have been setup for each GL Type.
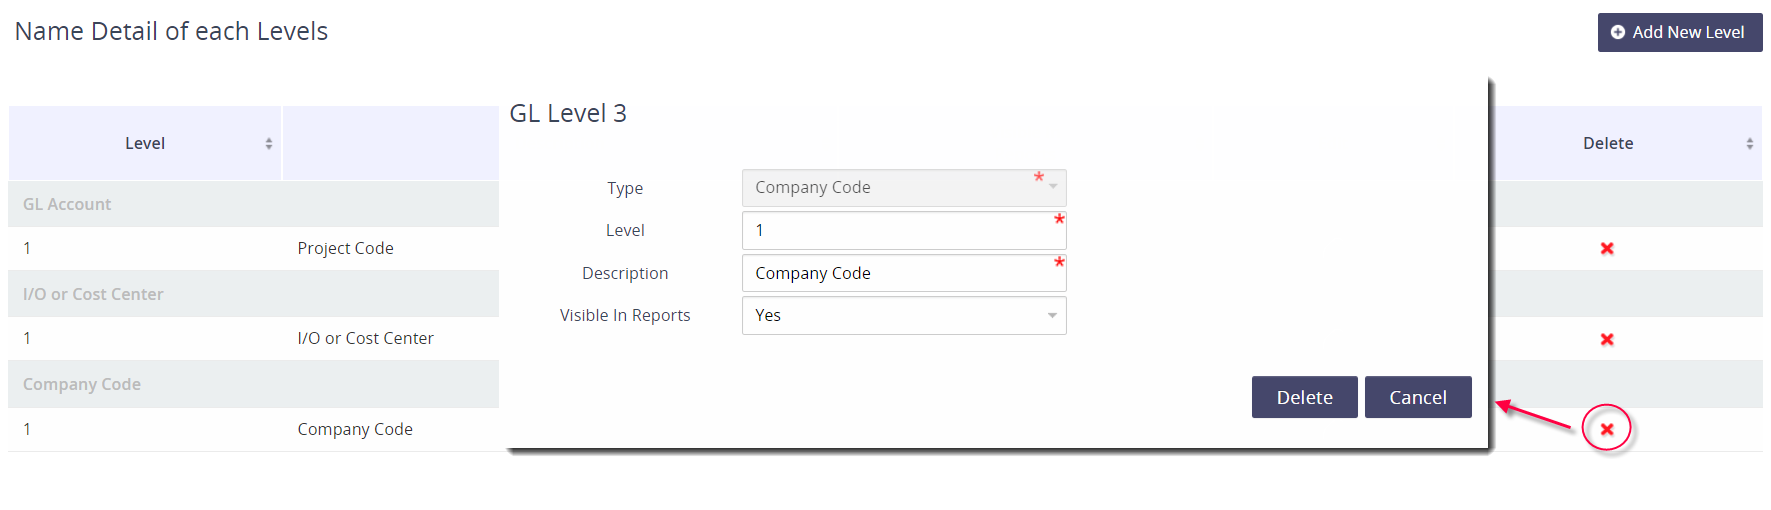
Locate the GL Level that you need to delete and click the red X under the Delete column.
Confirm the action and click Delete.