Assigning GL Codes to Lines
All the lines that have billed within the vendor, so be sure to check the account and the last invoice billing information as a reference for the Line.
Assign a GL Code per Line
When in the Expense Management module, click on Operations.
Click on Cost Allocation Strategy and then Strategy Definition.
Click on the value under the Pending Definition - Lines column.

Locate the Line that needs to be assigned to a GL Code.
Click the pencil icon under the Define column.
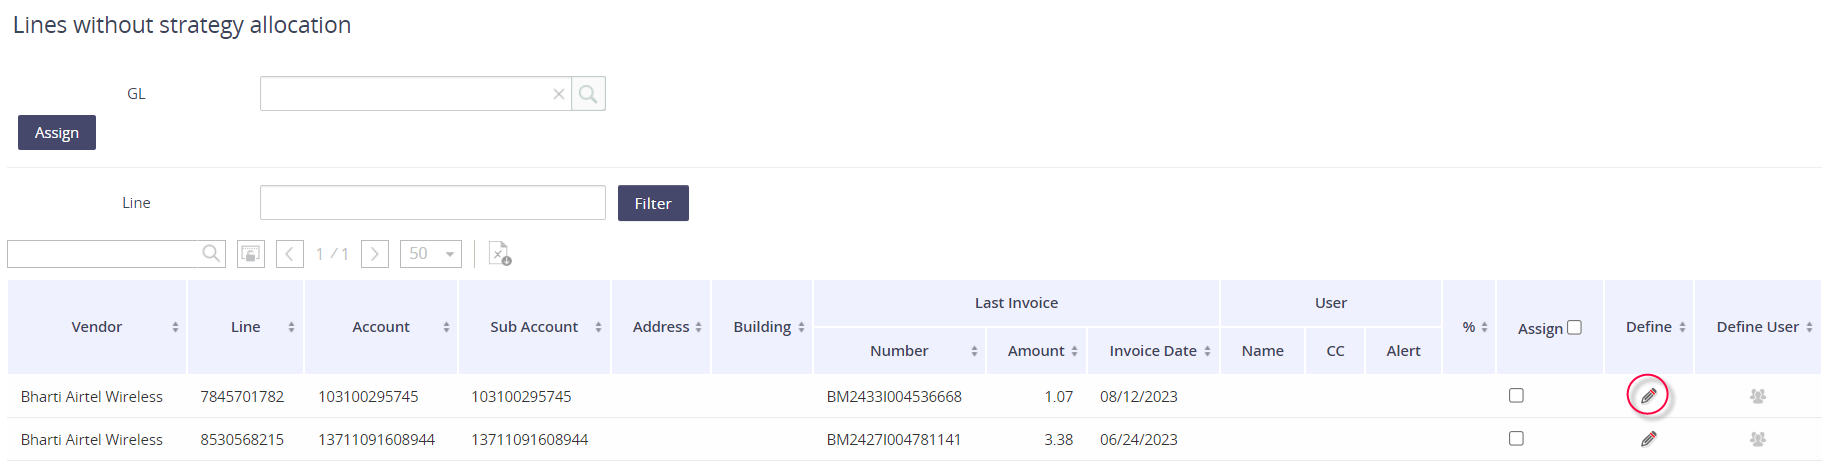
Populate the GL Code string, confirm the Type is set to 100%, and then click Add.
Want to map multiple GL Codes for this item? Click here to see how.

Assign GL Codes in bulk
When in the Expense Management module, click on Operations.
Click on Cost Allocation Strategy and then Strategy Definition.
Click on the value populated under Pending Definitions - Lines.

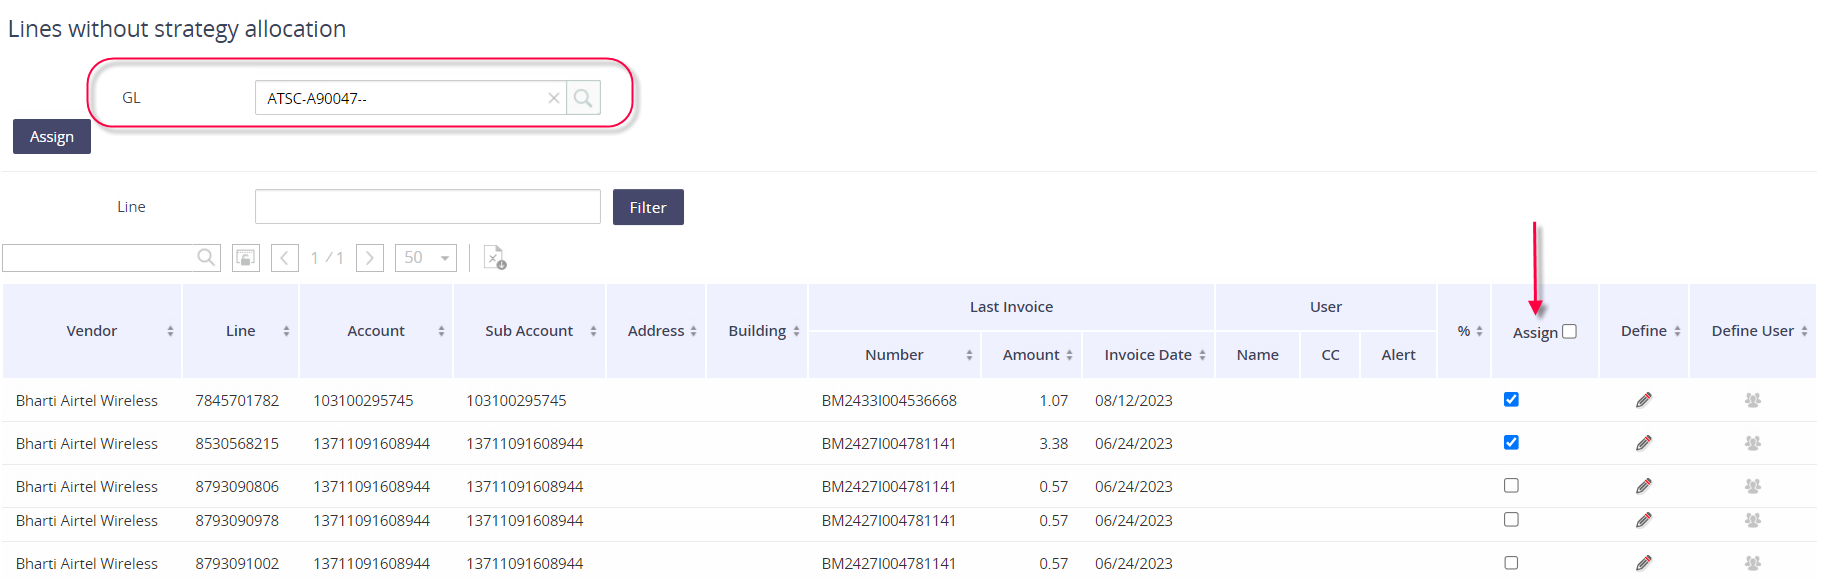
Select the GL Code string and then select the Lines that should be assigned to that GL Code.
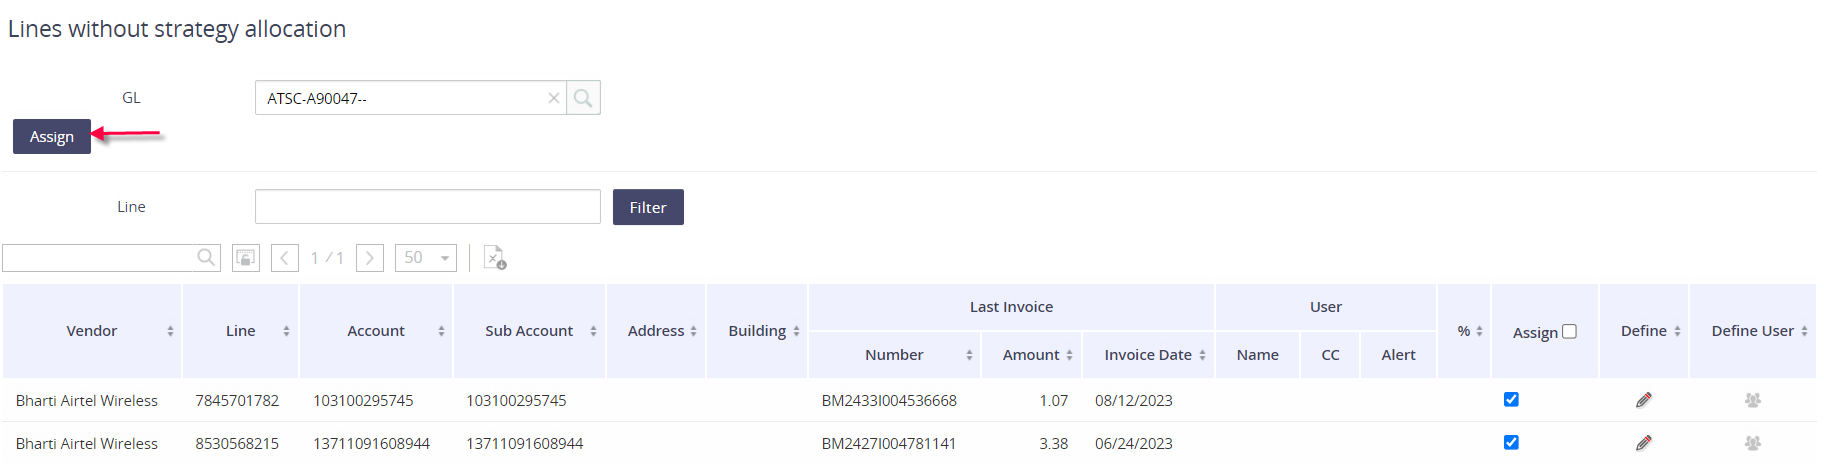
Click Assign to save the associations.
Assign to a User
For each invoice, the GL Codes are derived based on the service ID’s assigned employee and the employee’s cost center. Want to read more? Check out how to setup dynamic allocation in this article.
When in the Expense Management module, click on Operations.
Click on Cost Allocation Strategy and then Strategy Definition.
Click on the value populated under Pending Definitions - Lines.
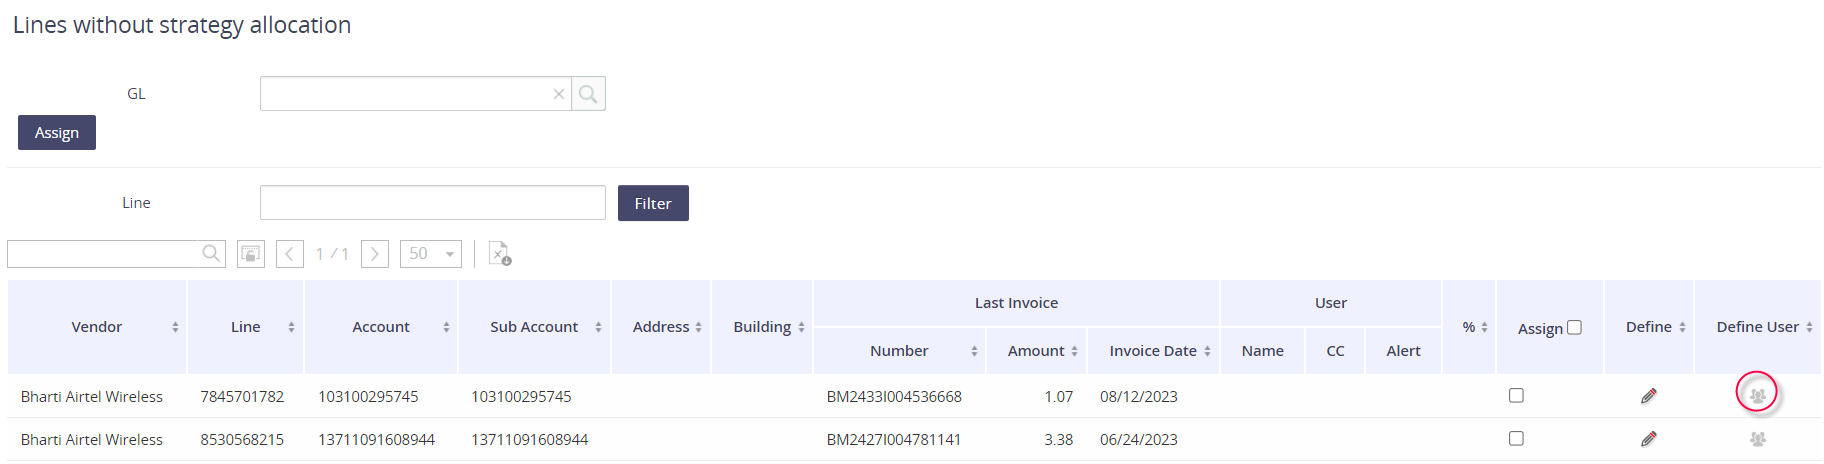
Locate the Line that needs to be assigned to a user.
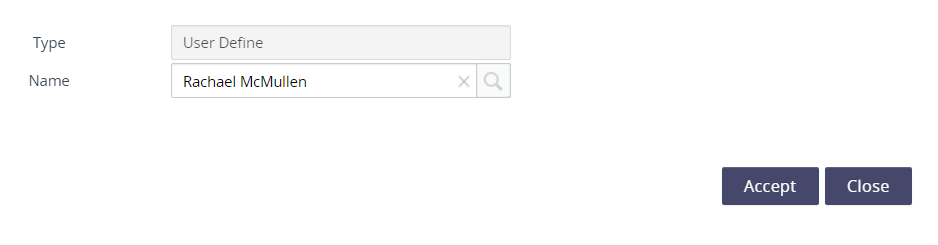
Click on the person icon under the Define User column.
Locate the employee using the Name drop down.
Click Accept to save your changes.