
Configuring Approvals
Our Multi-level Approval tool allows you to set up multiple users to approve an invoice before it moves to the Paybox. The approval structure is customizable as you can set approvals by Vendor, account, invoice amount, and by Level. While we support a hierarchical approval structure, you can also designate one user to approve invoices as well.
Navigating the Approver Inbox
To view the current approval configuration,
When in Expense Management main menu, go to Invoice Lifecycle and select 0- Config.
Click on Approvals .
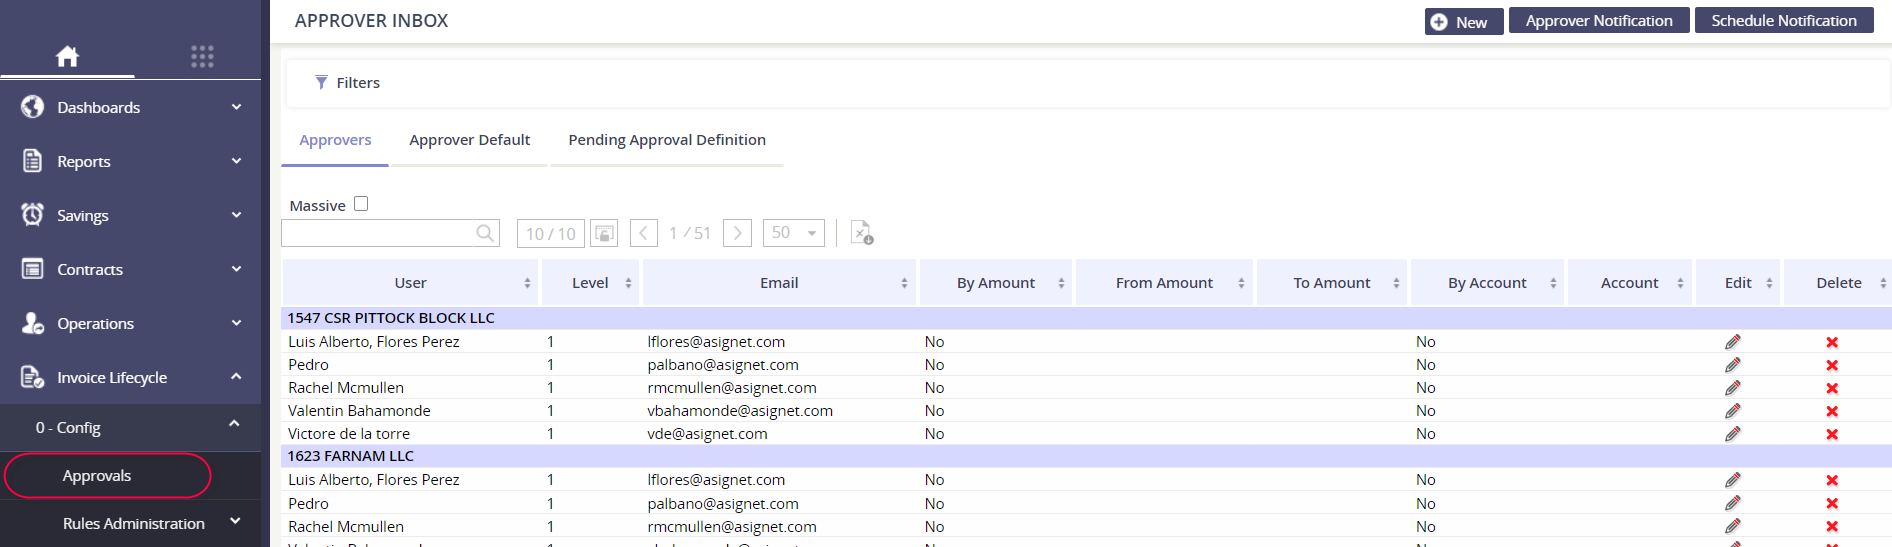
From this main page you will be able to:
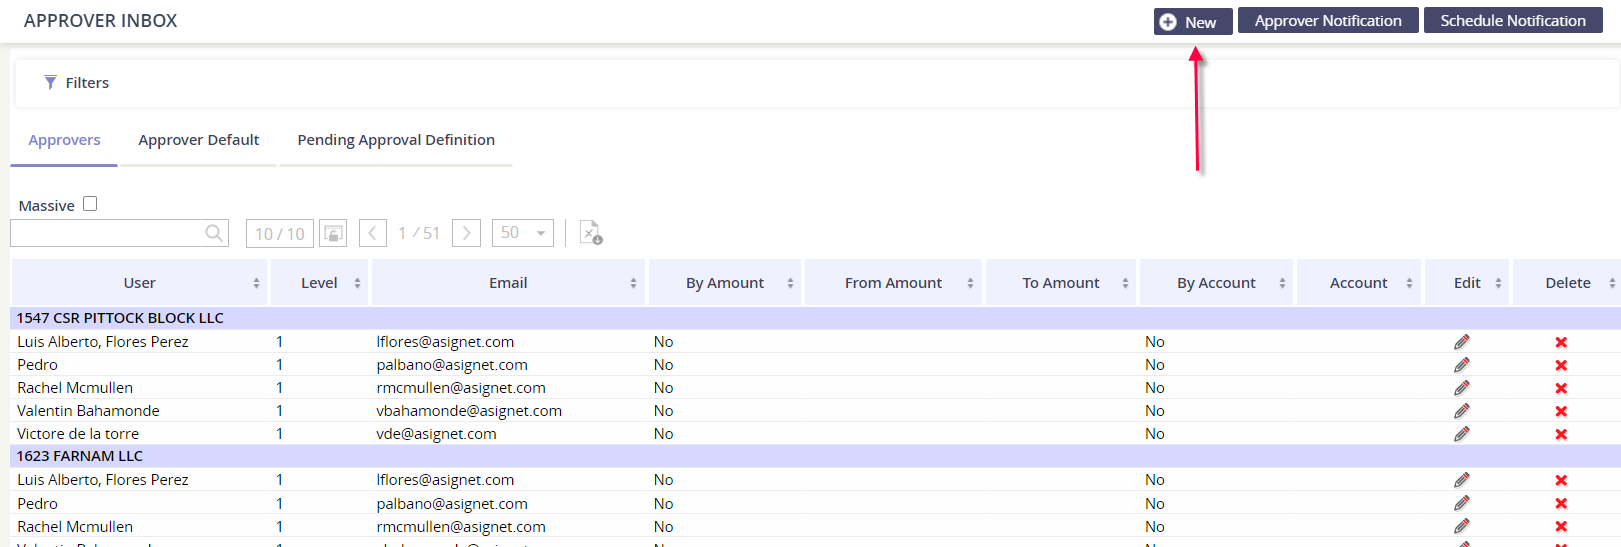
Add a new user
Click on the New button.
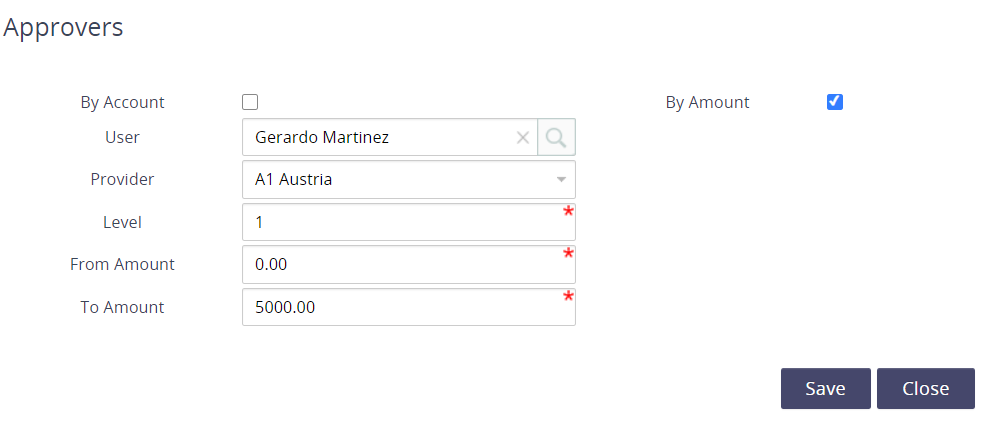
Begin the configuration requirements for the user:
Configuration Element | What it does… |
|---|---|
By Account | Check the box to assign the user to specific accounts. A filter for Account will appear when selected. Make sure you click Add after you’ve selected the account. You may Add multiple accounts one at a time. 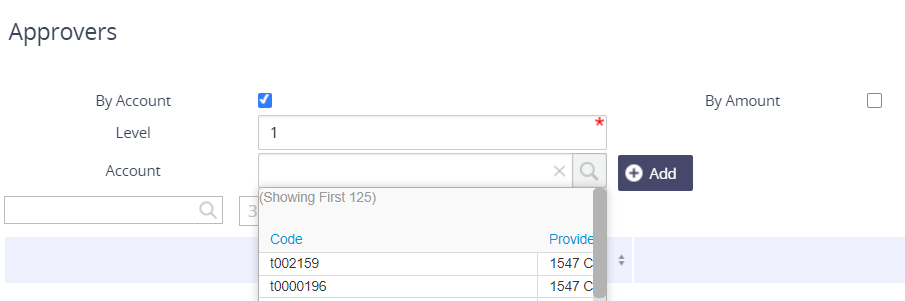 |
By Amount | Check the box to assign an invoice amount threshold to the user. For instance, you may want the user to only approve invoices within a certain range. Enter the From and To amount. 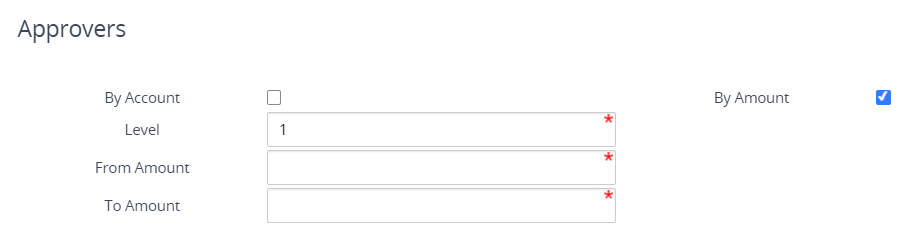 |
Level | Determine the Level in which the approver should appear. If you are building a structure from scratch, add all your Level 1’s first and then build up from there. The Level is required, regardless if the By Account or By Amount are selected.  |
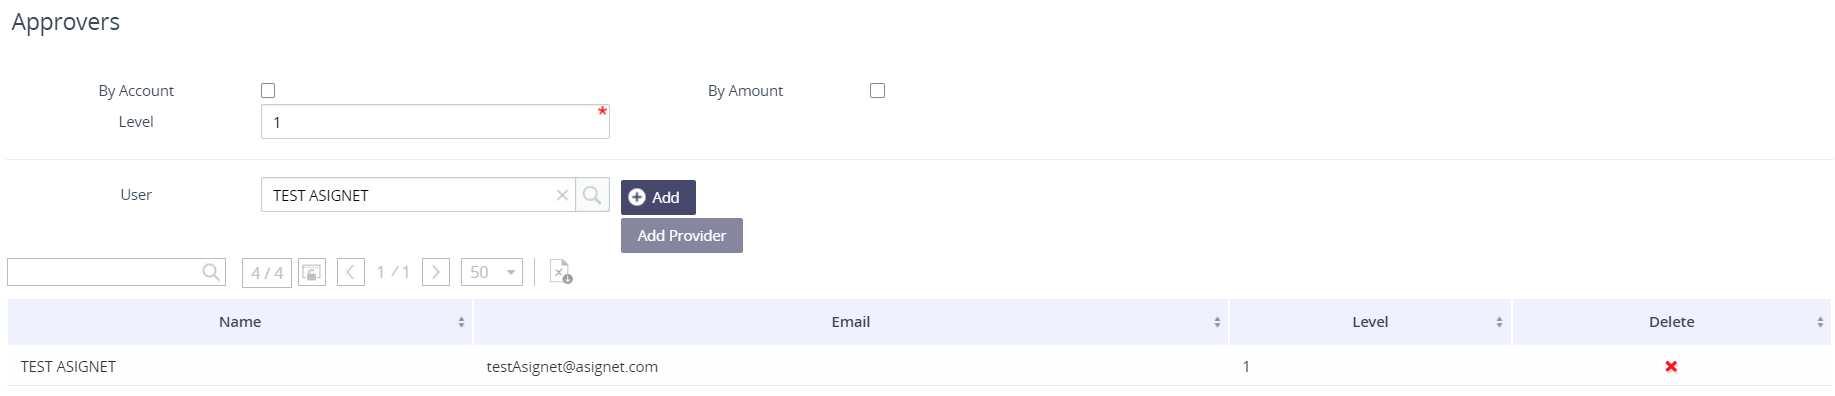
Once you have defined the By Account, By Amount, and/or Level, select the approver from the User drop down and click Add.
The user must be Active.
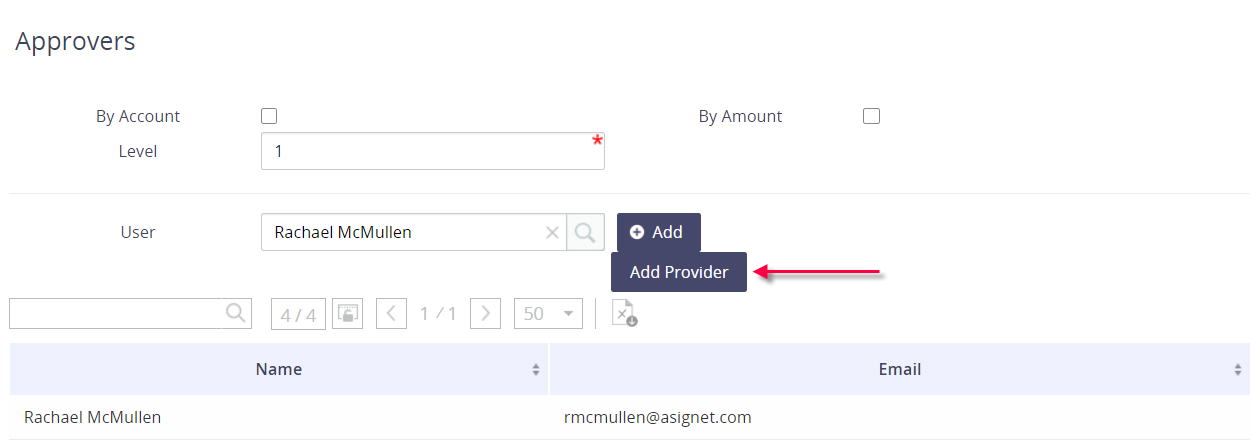
If you did NOT define By Account, you must click Add Provider and assign the user to a vendor - which means they will approve all accounts within that vendor.
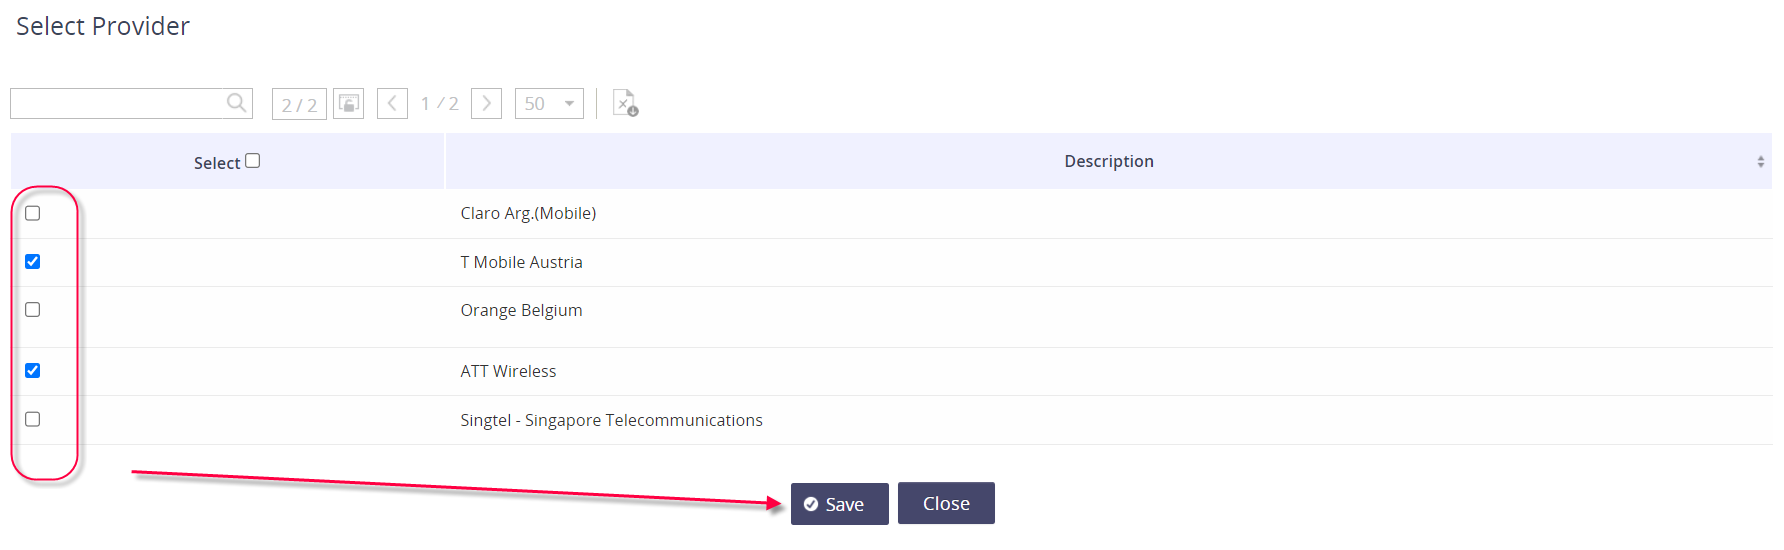
Click the box(es) for the appropriate vendors and then click Save.
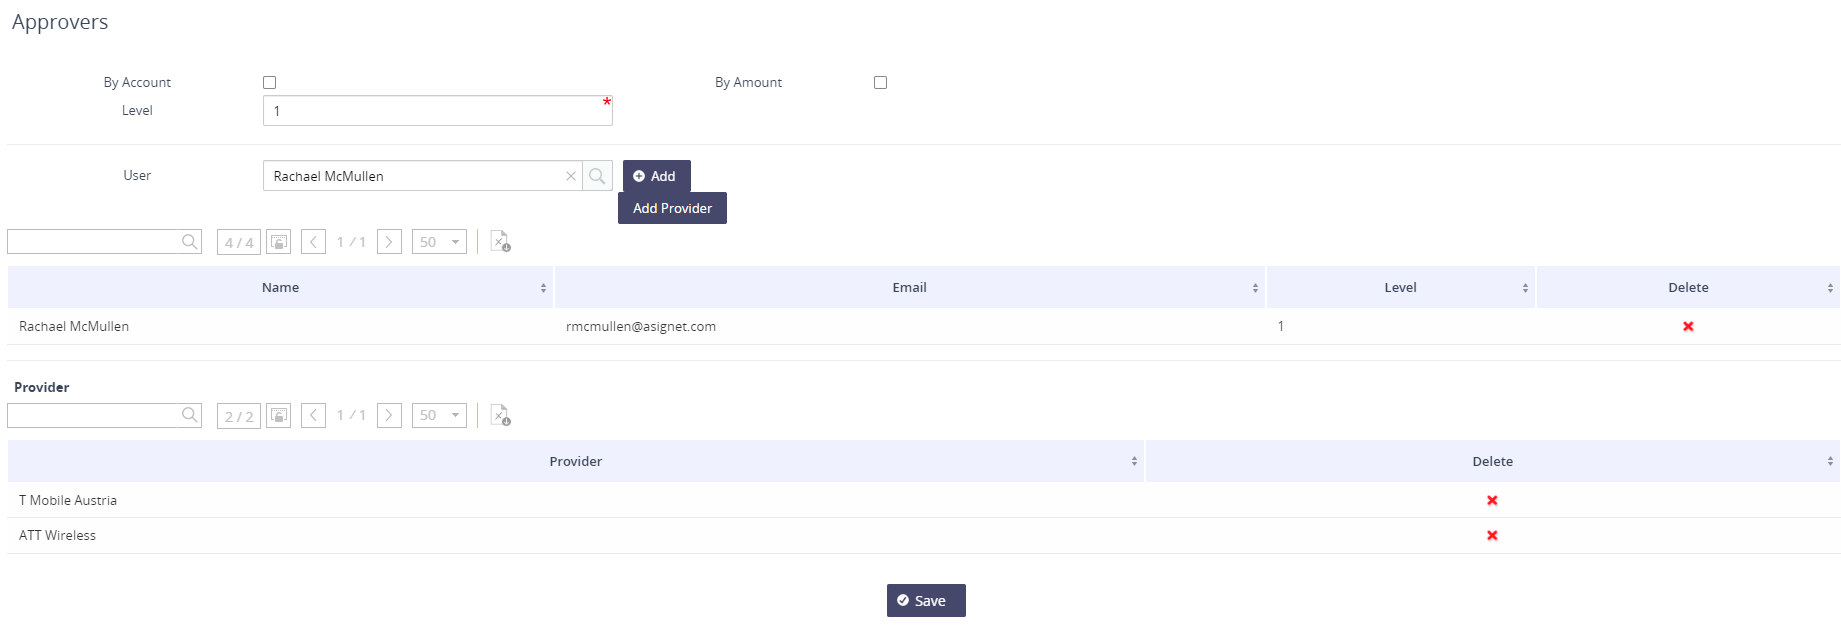
Confirm your setup is correct and then click Save to apply the new approver.
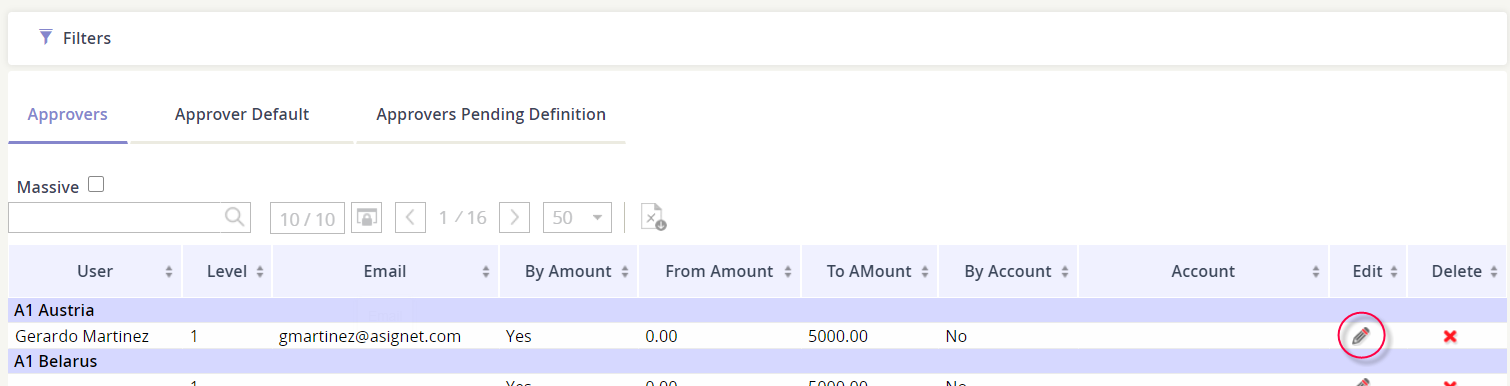
Edit an existing user
Find the user that needs to be updated.
Tip! Use the Filter section or the free form search box to find the user quickly!
Click the Edit icon.
Edit the appropriate fields and then click Save.
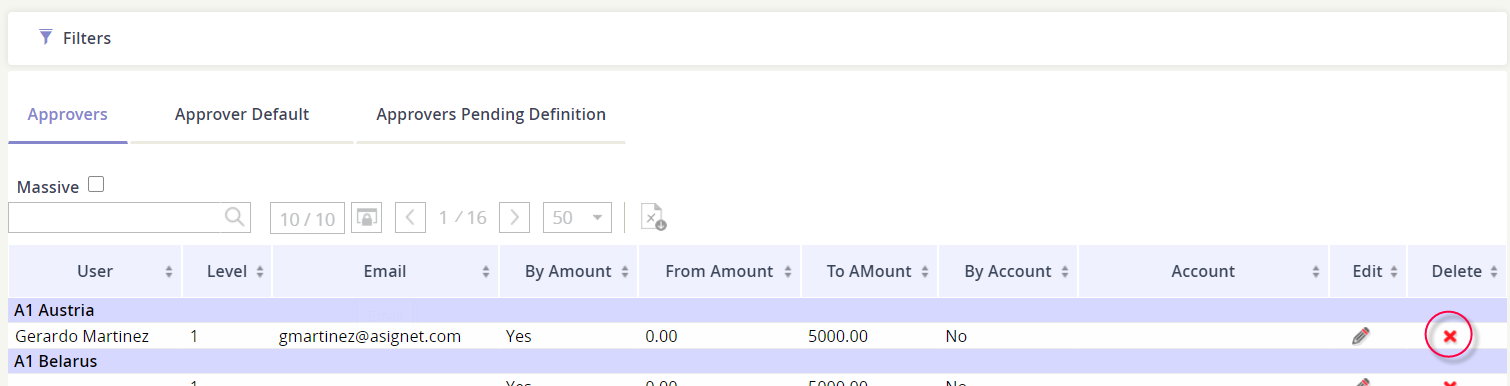
Delete a user from the setup
Find the user that needs to be updated.
Tip! Use the free form search box to find the user quickly!
Click the Delete icon.
Confirm your decision and click Delete.
